Pages

Thursday, October 29, 2015

Craft Tip Thursday: No Sew, No Glue, Felt and Burlap Wreath

So the wreath season is coming around, Haloween, Thanksgiving, Christmas. And you are sick of buying and throwing away wreath after wreath after wreath.

So here is a quick and easy solution for any occasion. No sew, no glue wreath, that you can change all over depending on the season and occasion.

You will need:

  • a Styrofoam wreath ring
  • Burlap ribbon of significant quantity. It took me 5 yards (5 m) of 2 inch (5 cm) burlap ribbon to cover nicely a 15-inch (40 cm) ring.
  • Grossgrain ribbon for hanger  
  • Felt for cutting out rolled felt roses (the amount depends entirely on you - a single rose for elegant and clean design, trio of roses for all the colors to symbolize the season, or tons to cover your wreath entirely).
  • Scissors for cutting the rosettes
  • And the TOP SECRET ingredient... drumroll to built tension (guess again, it is not love or dexterity) ... more drumroll ... touche.... pearl covered needle pins.

Step One:

Wrap your wreath with burlap ribbon.

See, quite easy. Wrap until you have completely covered the whole ring. Cut excess ribbon if necessary.

Now flip the wreath so that you are facing the end of the ribbon.


Tuck that shabby end under the ribbon... 


...and secure it in place with a pin. Trim loose cord if necessary. 

Step Two: Secure Wreath Hanger

Take a piece of grosgrain ribbon. Its length depends on how high or low you want to put the wreath. You will be better off measuring the distance between the suspension point and wreath position, multiplying it by 2 and adding an inch (2 cm) for attachment.  


Fold the ribbon in half and lay edges one on top of the other. If your ribbon has two different patterns make sure that the backside pattern faces you.


Secure the ribbon with a pin stuck in the overlapping part.


Add another pin for extra safety.


There you go. Easy peasy.

Step Three: Add some flair

Now here is the point at which you may let your creative side go wild. Get your felt out and cut those roses. Basically you cut a circle, cut out a spiral inside it and roll. You will find tons of instructables online or simply visit my Etsy shop for a nice set of instructions and patterns.


Notice that you have this inner circle that serves as the base of the rose. Place it on the rolled part and holding it tightly place the rose on the wreath.


Take your needle pin and push it through the center of the rose. There, no need to sew, glue or otherwise engage in more time consuming slightly hazardous activities. 


Keep going until you reach the desired effect. 

And that is all. 


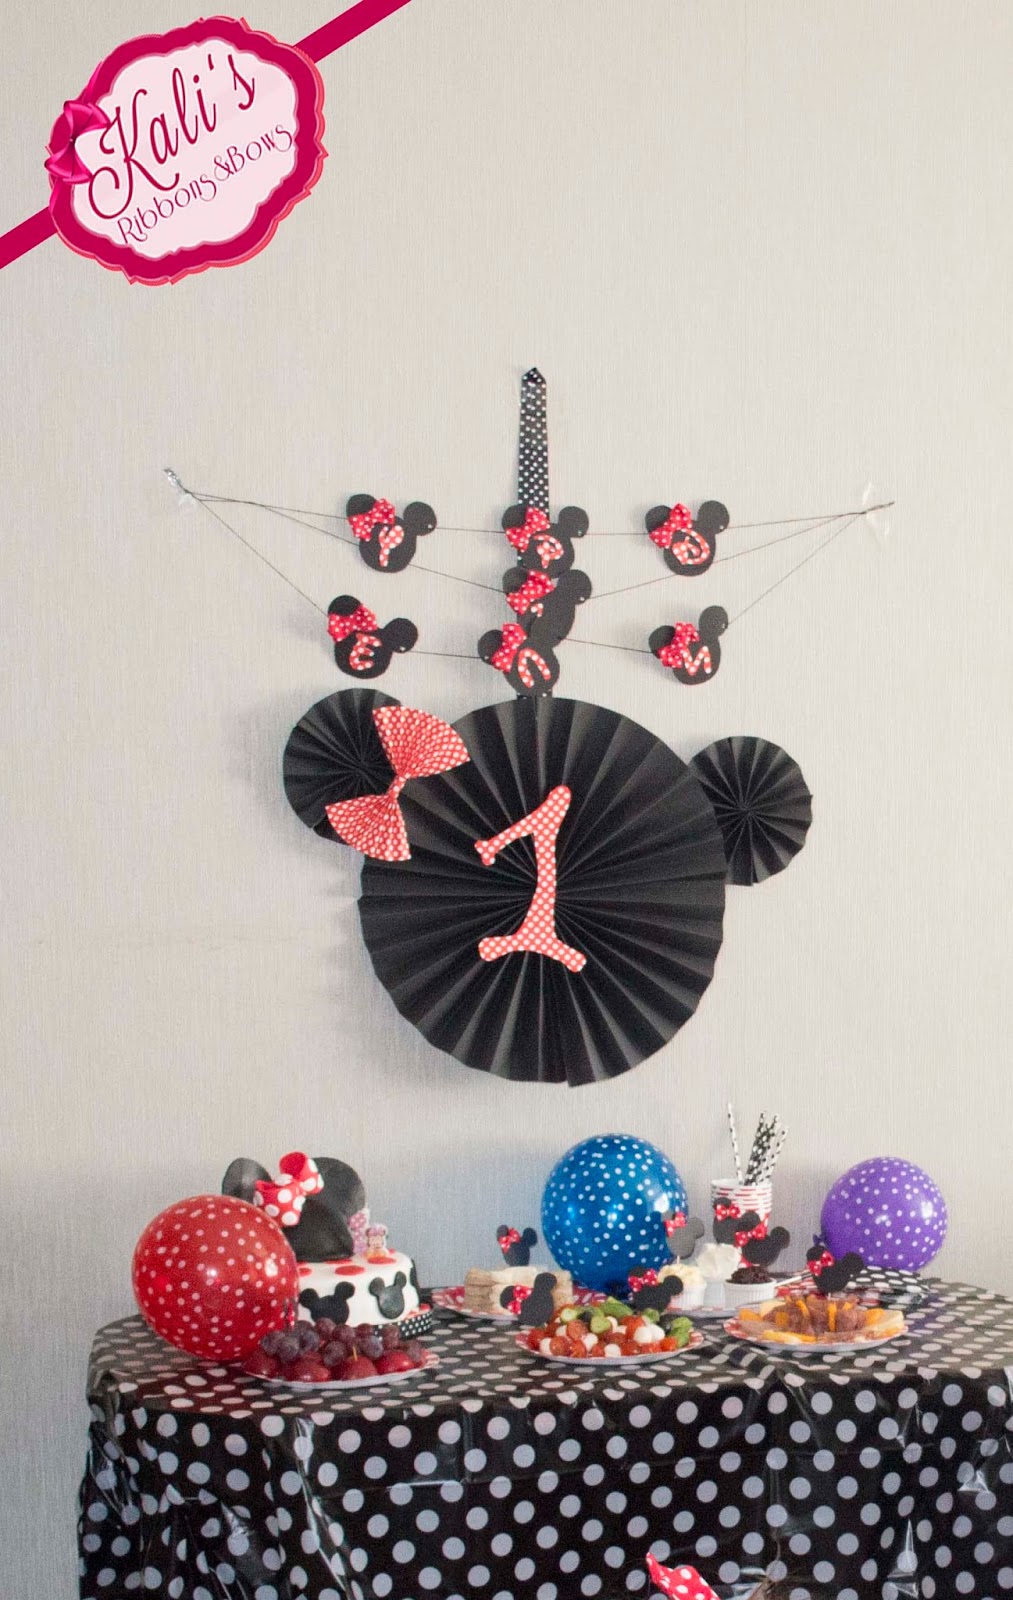
P.S. And don't forget I am giving away a free Minnie Mouse Birthday Invitation Tutorial available upon email subscription. 


Wednesday, October 21, 2015

Quick, Cheap and Easy Halloween Decorations from Around the Web

Wait what, only nine days left?

With everything that you juggle you almost forgot that the creepiest day of the year is right behind the corner?

Time to buy the pumpkin and pull the witch's hat out of the closet? (Please keep the skeletons buried there, will you?).

Well, luckily for us the web is full of ideas for quick and easy and most of all cheap Halloween decors that could be done in a flash (as if you had a magic wand ;) ).

Here are my top 5 picks.

Number 5: Wall Spider Web


Easy right, just throw some yard around and get a nasty humongous spider to adorn it. Oh, you need more detailed instructions? As it happens The Art of Doing Stuff has them all laid out for you.

Number 4: Mummy Halloween Cards


Yep, Mummy Loves You. And so do Curly Birds who have prepared such a cute little scary tutorial.

Number 3: Glittered Witch Shoe Candy Dishes


These are sooo coool you can probably wear them even in November. Beatiful set of instructions from Seeing Things on Instructubles.com

Number 2: Vampire Napkin Rings


Prepare yourself for the carnage at the table. This one was made by Lucas Zarebinski for Reader’s Digest. Splash white cloth napkins with red Kool-Aid, thread a white twist tie through a set of plastic vampire teeth, and finally secure a twist tie around the center of your napkin.

Number 1: Ghostly Draperies


These just look so simple and easy to do yet a bit disturbingly scary. And who says that have to be on your porch - windows and doors are also fair game I think. Want to know just how easy it is? Visit HGTV's website for detailed instructions.

Thursday, October 15, 2015

My take on First Birthay Minnie Mouse Party (plus a free pdf tutorial)

Hi there!

Ever since I created this blog I kept thinking what would be the most appropriate topic for my first real post. After a reasonable internal debate with quite a number of rejected ideas I settled on writing about what (or better yet who) got me into crafting. Thinking and debating with yourself is one of the few things you can do while picking toys for the 400th time today. 

And here it is, a post about a cute little mischeivous girl called Ellie, who happens to be turning one in October and gently sliding away from babyhood to toddlerhood in a swift pace. They grow up so fast don't they.

Someone should have warned me that first birthay is a huge deal. Even though I have settled for a tight family party, I still could not take away from my baby girl (and myself) all the drama of the planning and preparation. 

Having made-up my mind on having a Minnie Mouse themed party, it was time to pull out my trusty glue gun....Brace yourselves for polka dot overload.

First I made the invitations,


Then the birthday garland


And the welcome sign (love it, it is all paper pinwheels).


Some toothpicks to spice up the table as if the tableware and food and cake did not scream Minnie already.


And with all the excitement I simply forgot to shoot the rest :( But I will, next time. I promise.

And since this is my first post, and since this is about a birthday, I thought it would be nice to offer you a small token of favor. Subscribe to the blog and get a free pdf Minnie Mouse Invitation tutorial.